Sunday 3 March 2013

Amulet Elf King Mask


World book day is upon us and as usual a mad dash to create an outfit for the kids, my son loves the Amulet series from scholastic press and whilst not really a book more comic book it was the catalyst to get him reading independently and enjoying reading.  One of the characters is the Elf King who is a really evil baddie.  His most notable feature is a mask with no eyes.


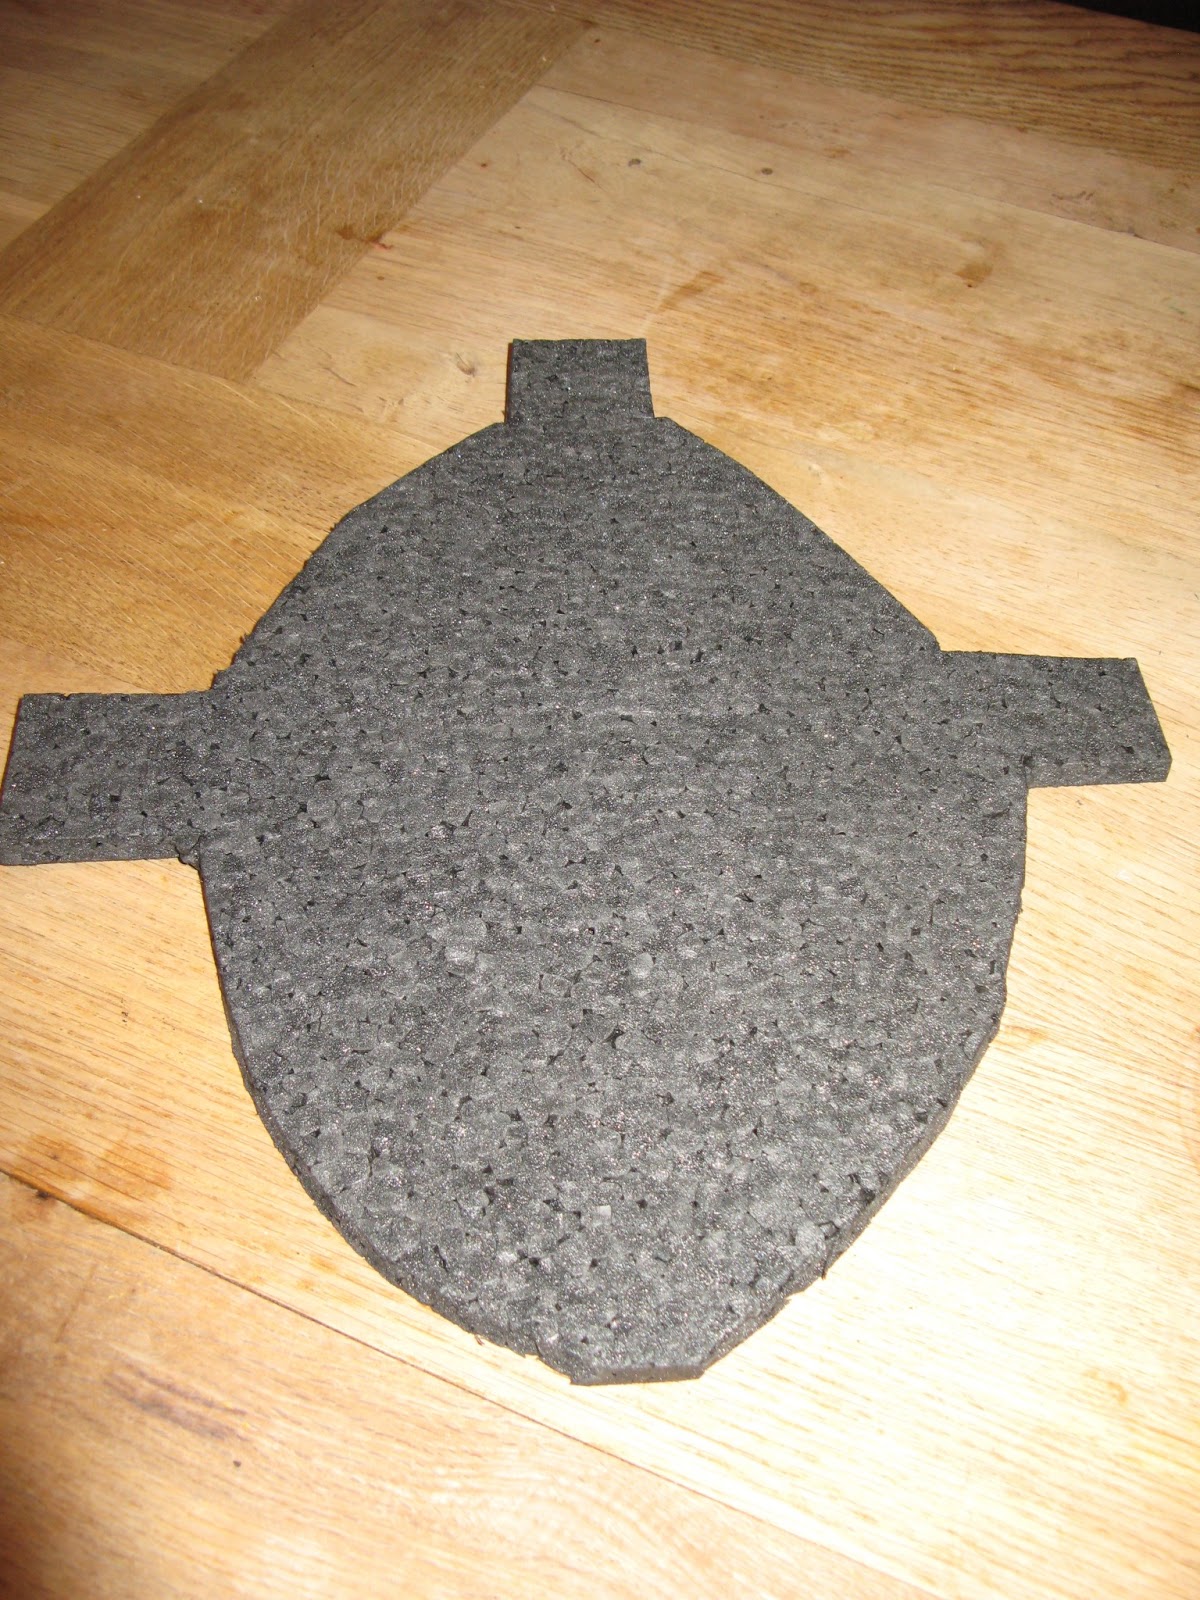
To make this in usual Sunday panic I raided some old PC packing and found black foam polystyrene
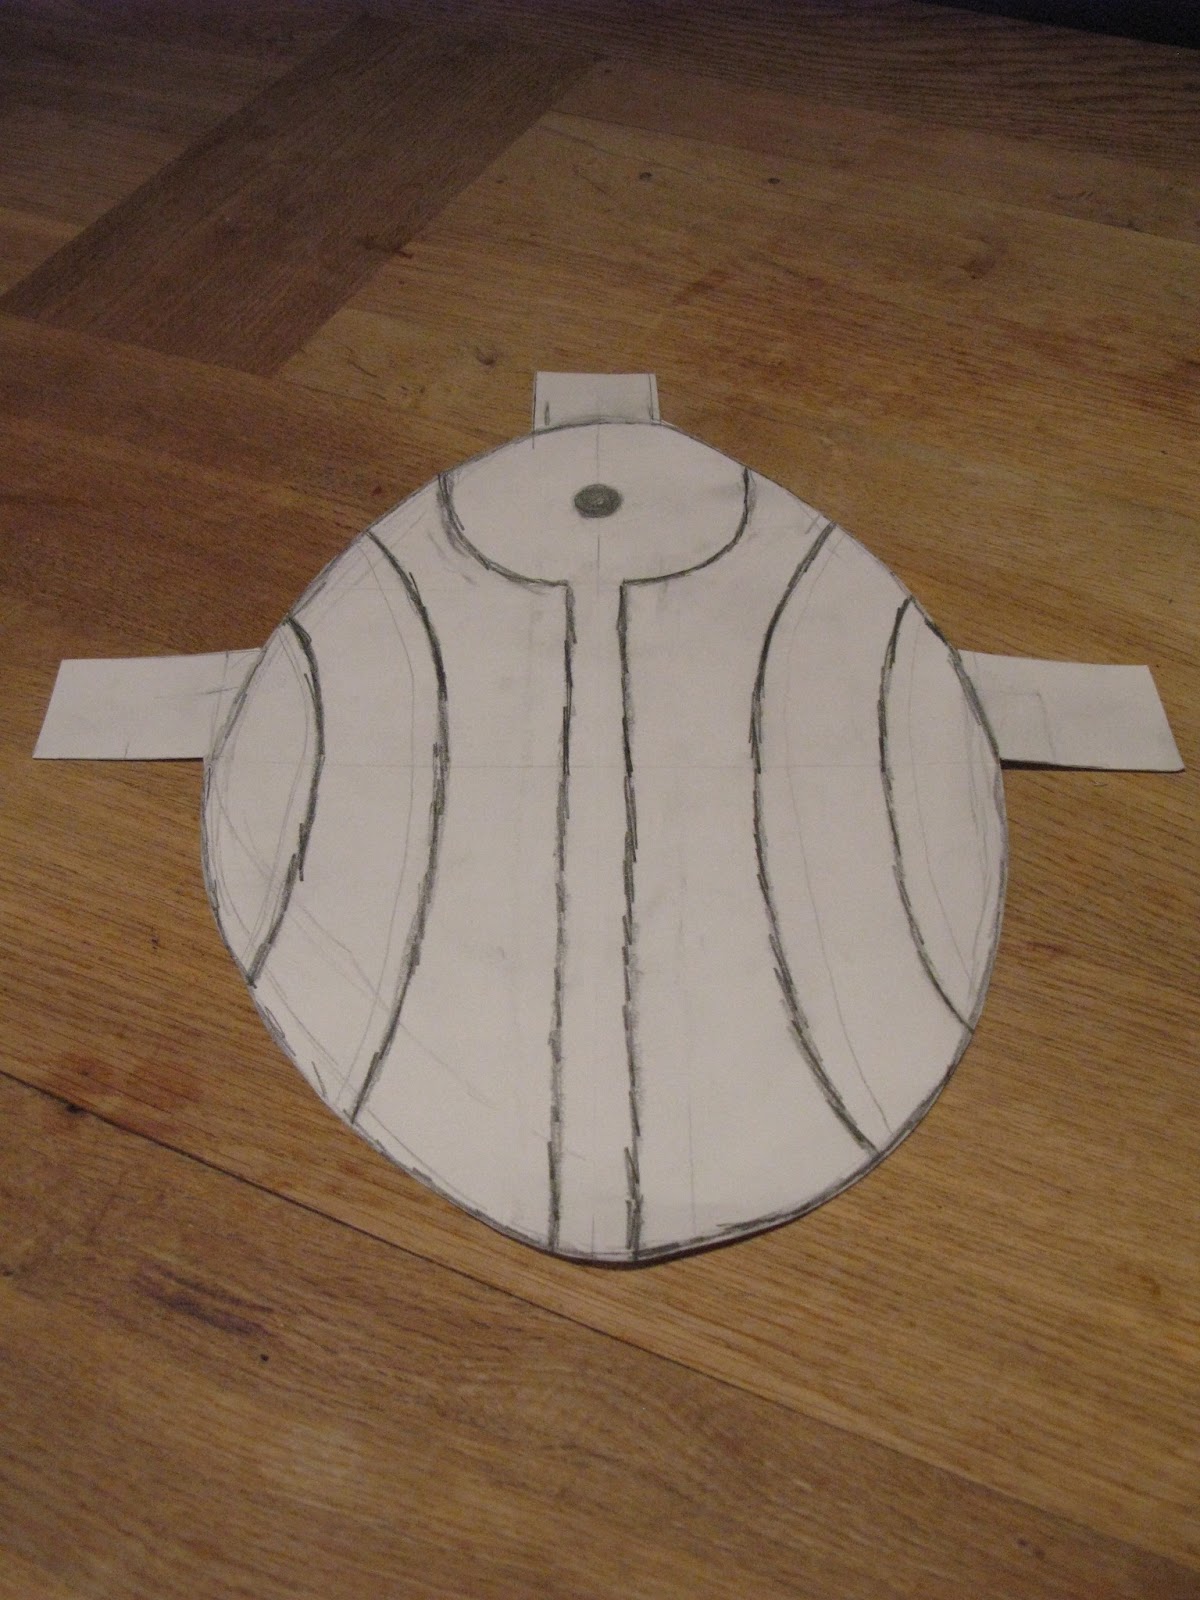
 1. I drew a quick sketch and then overlaid on top of the foam with paper glue so I could peal it off. .

2. I then cut out the shape with tabs on the sides and on top to fit a strap to keep it on my sons head. 

3. I then used a hot knife to cut out the pencil lines not trying to cut too deep just enough to create an indent. When finished I found some white emulsion that made it look like stone.

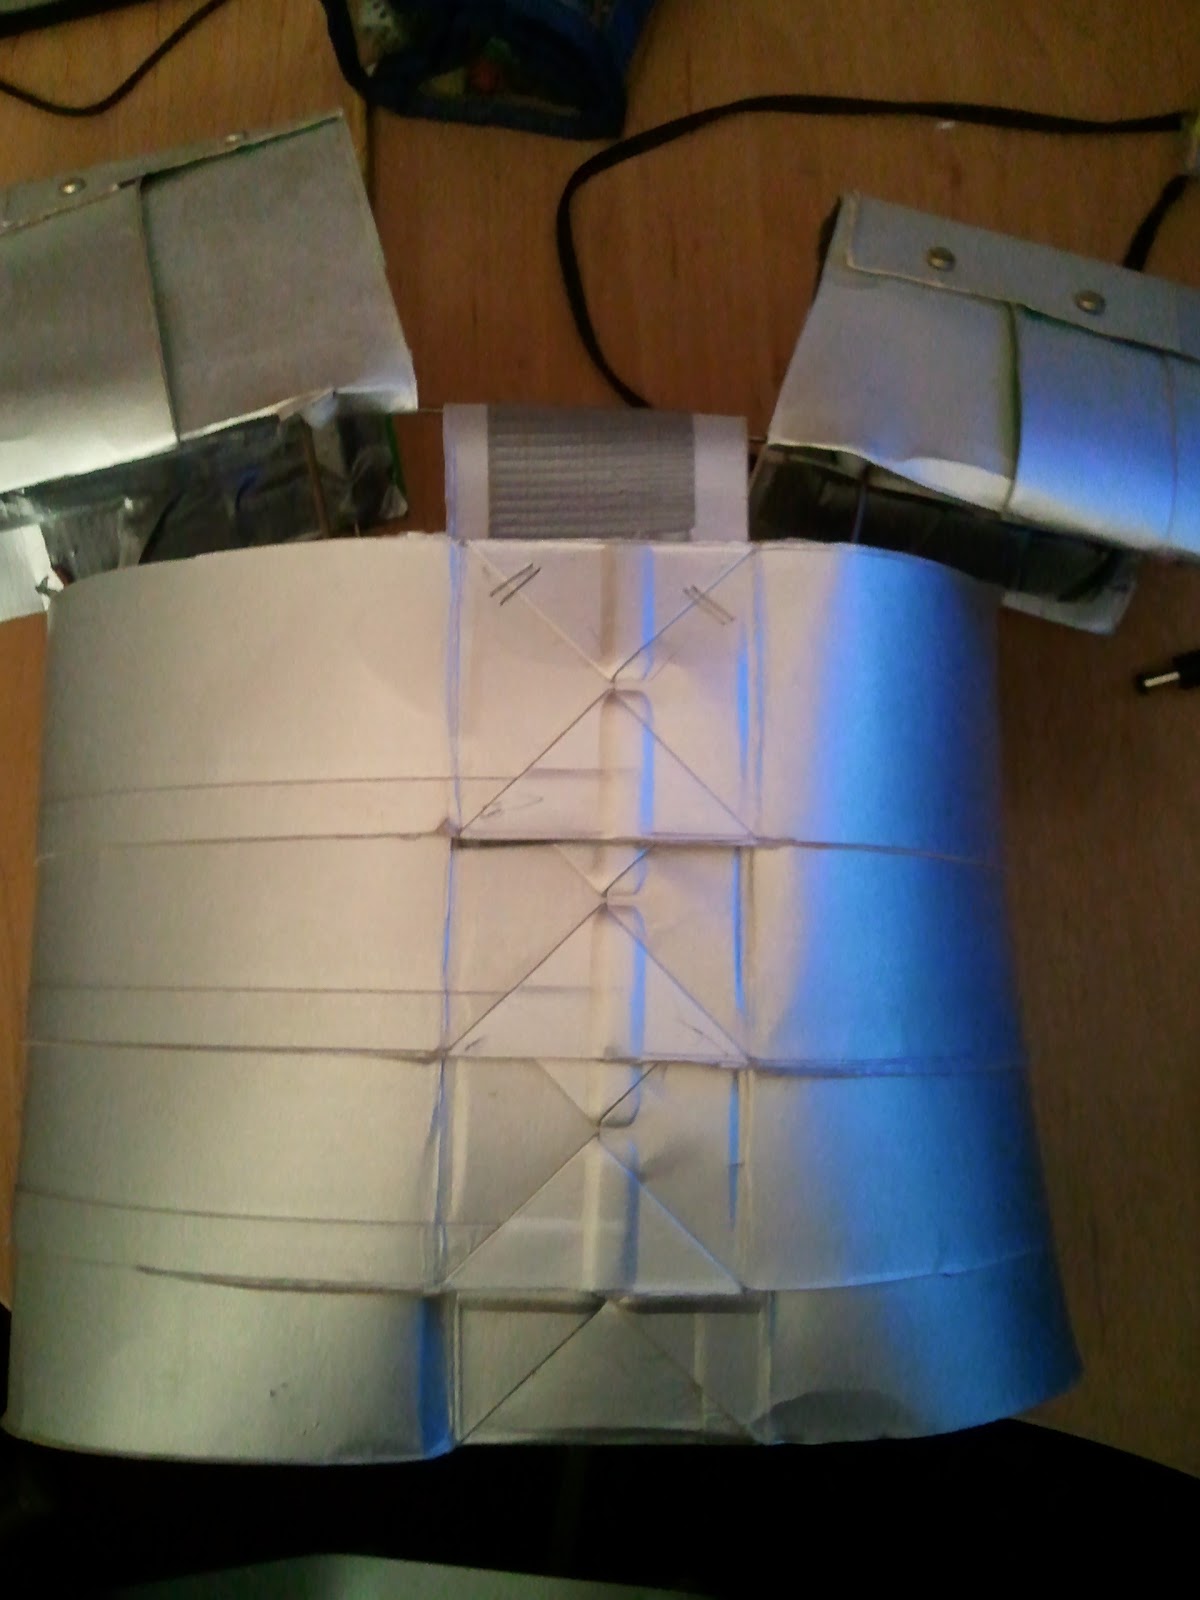
4. I made a set of ears that were just triangle folded and clipped with staples. I then found some rubber insulation which made a good strap. As the Elf king has these lines on the mask I was able to create two slits so my son could see out but you couldn't see the slits. I then adjusted the straps so he could see out and then clipped them in place. 


Thursday 4 October 2012

Microsoft Tablet + Kinect Idea


Microsoft tablet or surface  + Kinect would be a perfect solution giving you the ability to scan 3D structures , this could have applications in manufacturing , education, medical. You could point it at an object and it would create a 3D map which could then be used by a CNC machine. Also the interface is beyond touch. I think Microsoft are going to make a massive leap past apple. 

Sunday 16 September 2012

Lunar Module

I've always loved the Apollo Lunar module and as my son had a project to write about Neil Armstrong I suggested he do something more than copy what's on Wikipedia. I'm not sure how the teacher will take this but we spent an afternoon producing a movie about the launch. The centre piece was the LEM aka the lunar excursion module. With a roll of tin foil and cello tape my son landed on the moon :) .

Sunday 29 April 2012

CUBS wood work challange

For anyone part of a cubs group and want a DIY challenge , I would suggest a set of bookends. There are a couple of pre-requisites like ensure the sharp and dangerous things are supervised and can only be accessed by one cub at a time. We had a lot of extra help when we did this. One of the helpers did a great health and safety briefing which I think really ensured no one got hurt.
 Suggested tools for making project are :-
  1. Workbench 4 cubs per bench
  2. Cordless drill with screw driver bit
  3. Screws
  4. Wood preferably cut to provide two bookends to then be cut by the cub
  5. Protection gloves and goggles
  6. Saws
  7. Carpenters square
  8. Ruler or measure tape
  9. Wood glue
  10. Mitree box but be prepared for it not to last after the session
  11. Table for marking out
  12. Sand paper
  13. Pencil
  14. Quick Grips Really good to hold things down
  15. Old bit of wood to drill into instead of work bench or floor
  16. Print multiple copies of plan(below) and have a built one for the cubs to see
We structured the session with :-
  1. Safety briefing
  2. What were going to make
  3. Marking out the wood
  4. Cuts .
  5. Suggest smaller saws like silky pocket boy or a mitre box
  6. Markings out the holes
  7. Drill
  8. Assemble
I also suggest you split the pack so that some are going through what each tool does otherwise you will be swamped.  Your probably wondering what size wood, well it depends on what you can get most. I didn't put measuresments so you can adjust accordingly we did 130 mm for each segment so each cub got two planks of 390 mm  (22mm thick x 100 mm wide x 390 mm long) to then divide into three sections. Here are the plans below have fun.


Monday 12 March 2012

Visual Studio Team Foundation Service Preview - First Impressions

So have been given an invite on the TFS Microsoft 2012 preview, feedback so far . It plugs nicely into Vis-studio 2010 with a patch done to it. Process template we’re using is EMC’s scrum template for team system the preview choices only offer
Microsoft Visual Studio Scrum 2.0 – Preview 3
MSF for Agile Software Development 6.0 - Preview 3
MSF for CMMI Process Improvement 6.0 - Preview 3
 
The web based portal is so much better than the 2010 version for user friendliness; my 2010 visual studio didn’t have any reports but the portal that’s a different thing!!!

OMG - PBI and Task Setup as so nicely done and the Task Board kills Urban Turtle easily . Love this project planning and setup just flows nicely and is so easy to set things up. Sprint planning will be a lot easier.

Sunday 26 February 2012

Roman armour for kids

My son was asked to dress up for a roman and Celt day at school. They were fairly explicit that nothing should be bought, although on the day there were some very new looking armour, swords and shields. Their loss as I spent time with my son building roman armour more specifically a Lorica Segmentata (segmented armour).

I found a picture of a Romans soldier on Wikipedia and thought how we could make something look like metal. My son loved making and wearing the armour. Here's my first sketch I always use A3 pads to do my thinking.


So what can you use to mirror armour plate, tin foil just doesn’t work, plastic too hard cardboard doesn’t bend. Answer DRINKS CARTONS inside they a really nice silver colour and after washing them are fairly tough. Cut them open along the seams and you get a cross that then can be used as metal plates. For my 7 year old I used :-


Materials

1.    8-10 juice drink cartons
2.    8-10 tall juice drink cartons
3.    1 coat hanger
4.    Duct tape
5.    Packet brass picture hooks and loops
6.    Brass pins

Tools
1.    Big sharp scissors (Kids should be supervised at all times)
2.    Wire cutters
3.    Staple gun


Step 1

Prepare Cartons - Cut your cartons into crosses by removing the top rectangle which has the spout and the carefully down the sides. You usually find tall and thin cartons and fat cartons. Tall and thin are great for the side plates, a decent staple gun will join them, together but make sure you duct tape over them.


Step 2  

I started building the back by layering the
drinks cartons on top of each other so they
overlapped.

Step 3

Continue armour around the waist

Step 4

For the shoulders use the fat ones, you will need an old wire coat hanger which you then bend to create a frame to duct tape the fat pieces on. Connect the wire to the back of the armour and use the duct tape to cover sharp edges.

Step 5
Finish front of armour, complete thin plates around waste hiding the join buy folding and joining the cartons to avoid the seam. Join shoulder wires to the front of the armour I user a brass fastener through a loop I bent in the wire and duct tape over for safety.

Step 6

For the fastener at the front you could use leather shoe laces, I used some picture frame hooks I got in a pack from the local DIY store.

Step 7

For swords and shields I would guess every 7 year old has one and cardboard and a brass biscuit tin lid makes a good shield.

Tuesday 22 July 2008

Fundamental Bushcraft - "Orthopedic Bracken"

If you have an innate love of the outdoors and learning skills that are on the border of extinction then I recommend a Fundamental Bushcraft course from Ray Mears. I've just come back from one and it cannot be classified as a holiday from work more a test of your mental and physical ability to survive. Many thanks to my team mates Ed, Jamie and Lawrence it was a pleasure and an honour see you on the journey man course.


Ed's shelter


Jamie's Dragon - pagan dance ritual


Doing a course like this reminds us that even the simplist things we take for granted would take a lot more effort if we didn't have gas and electricity. One final note I can testify that a bed of bracken has exceptional orthopedic qualities.